Budget-Friendly Vanity Makeovers
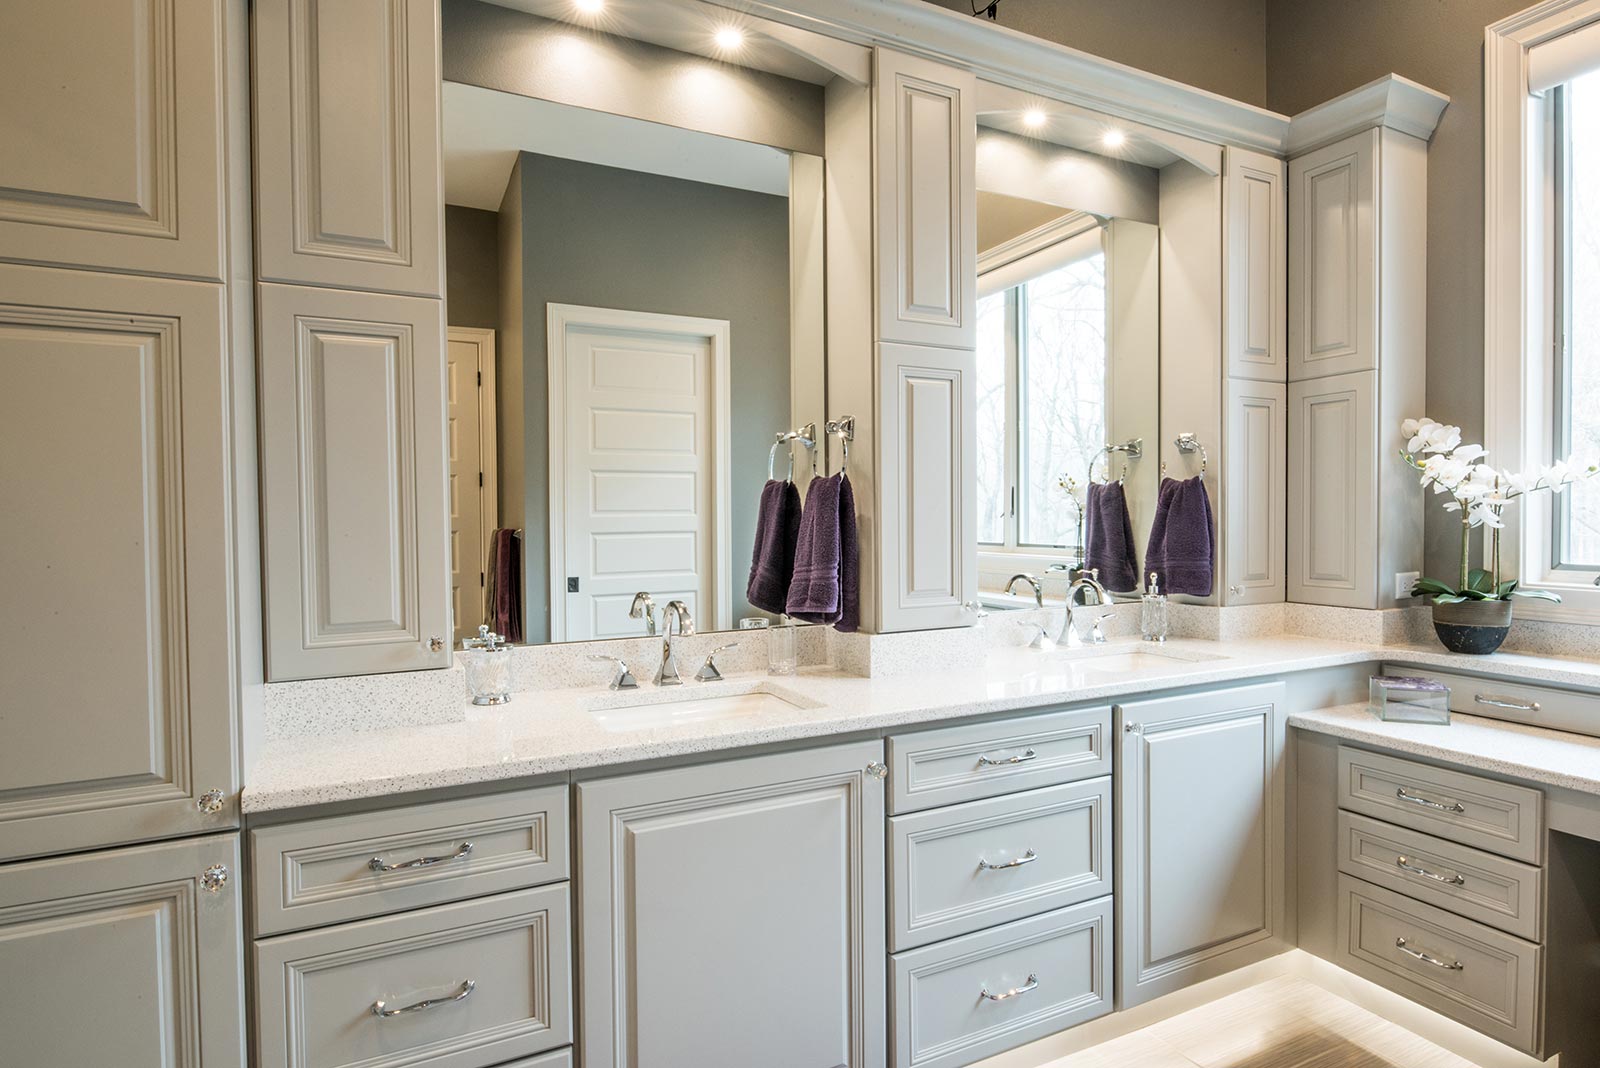
Transforming your bathroom vanity doesn’t have to break the bank. With a little creativity and some affordable materials, you can give your vanity a fresh, modern look without spending a fortune.
Affordable Materials for Vanity Makeovers
There are numerous budget-friendly options for updating your bathroom vanity. Here are some popular choices:
- Paint: A fresh coat of paint can instantly change the look of your vanity. Choose a color that complements your bathroom’s overall style. You can even use a high-gloss paint for a more modern feel.
- Hardware: Replacing outdated hardware, such as knobs and pulls, can make a big difference. Look for affordable options at hardware stores or online retailers. You can find stylish hardware in various materials like brushed nickel, chrome, and black.
- Countertop Coverings: If your countertop is outdated or damaged, consider covering it with a budget-friendly material. Options include contact paper, tile, or even epoxy resin.
- DIY Projects: You can also get creative with DIY projects to update your vanity. For example, you can add a new backsplash using inexpensive tiles or create a custom mirror frame using wood molding.
Budget-Friendly Vanity Makeover Example
Here’s an example of a budget-friendly vanity makeover using a combination of DIY techniques and affordable materials:
- Start with a Clean Slate: Begin by cleaning your vanity thoroughly to remove any dirt, grime, or old finishes.
- Paint the Vanity: Choose a paint color that complements your bathroom’s décor. Consider using a light, airy color to make the space feel larger. If your vanity has a wood finish, you might need to use a primer first. Apply two coats of paint for a smooth, even finish.
- Update the Hardware: Replace the old knobs or pulls with new, stylish hardware. Look for affordable options at hardware stores or online retailers. Consider using black or brushed nickel hardware for a modern touch.
- Add a New Countertop Covering: If your countertop is outdated or damaged, consider covering it with a budget-friendly material. You can use contact paper, tile, or even epoxy resin. Contact paper is a quick and easy option, while tile provides a more durable and stylish solution. Epoxy resin is a more advanced option that allows you to create a unique, custom countertop.
- Accessorize: Complete the makeover by adding accessories, such as a decorative soap dispenser, a stylish toothbrush holder, and a matching mirror.
Examples of Budget-Friendly Vanity Transformations
Before and After Photos
Imagine a vanity with a dated wood finish and brass hardware. The countertop is chipped and stained. Now, picture the same vanity painted in a crisp white, with sleek black hardware. The countertop is covered with elegant white tile. The transformation is remarkable!
This is just one example of how a few budget-friendly updates can make a huge difference in the look of your bathroom vanity.
Types of Affordable Vanity Hardware
Here’s a table showcasing different types of affordable vanity hardware and their pros and cons:
| Hardware Type | Pros | Cons |
|---|---|---|
| Brushed Nickel | Classic, versatile, and affordable | Can show fingerprints easily |
| Chrome | Shiny, modern, and easy to clean | Can be prone to scratches |
| Black | Stylish, contemporary, and affordable | May show dust more easily |
| Oil Rubbed Bronze | Warm, rustic, and elegant | Can be more expensive than other options |
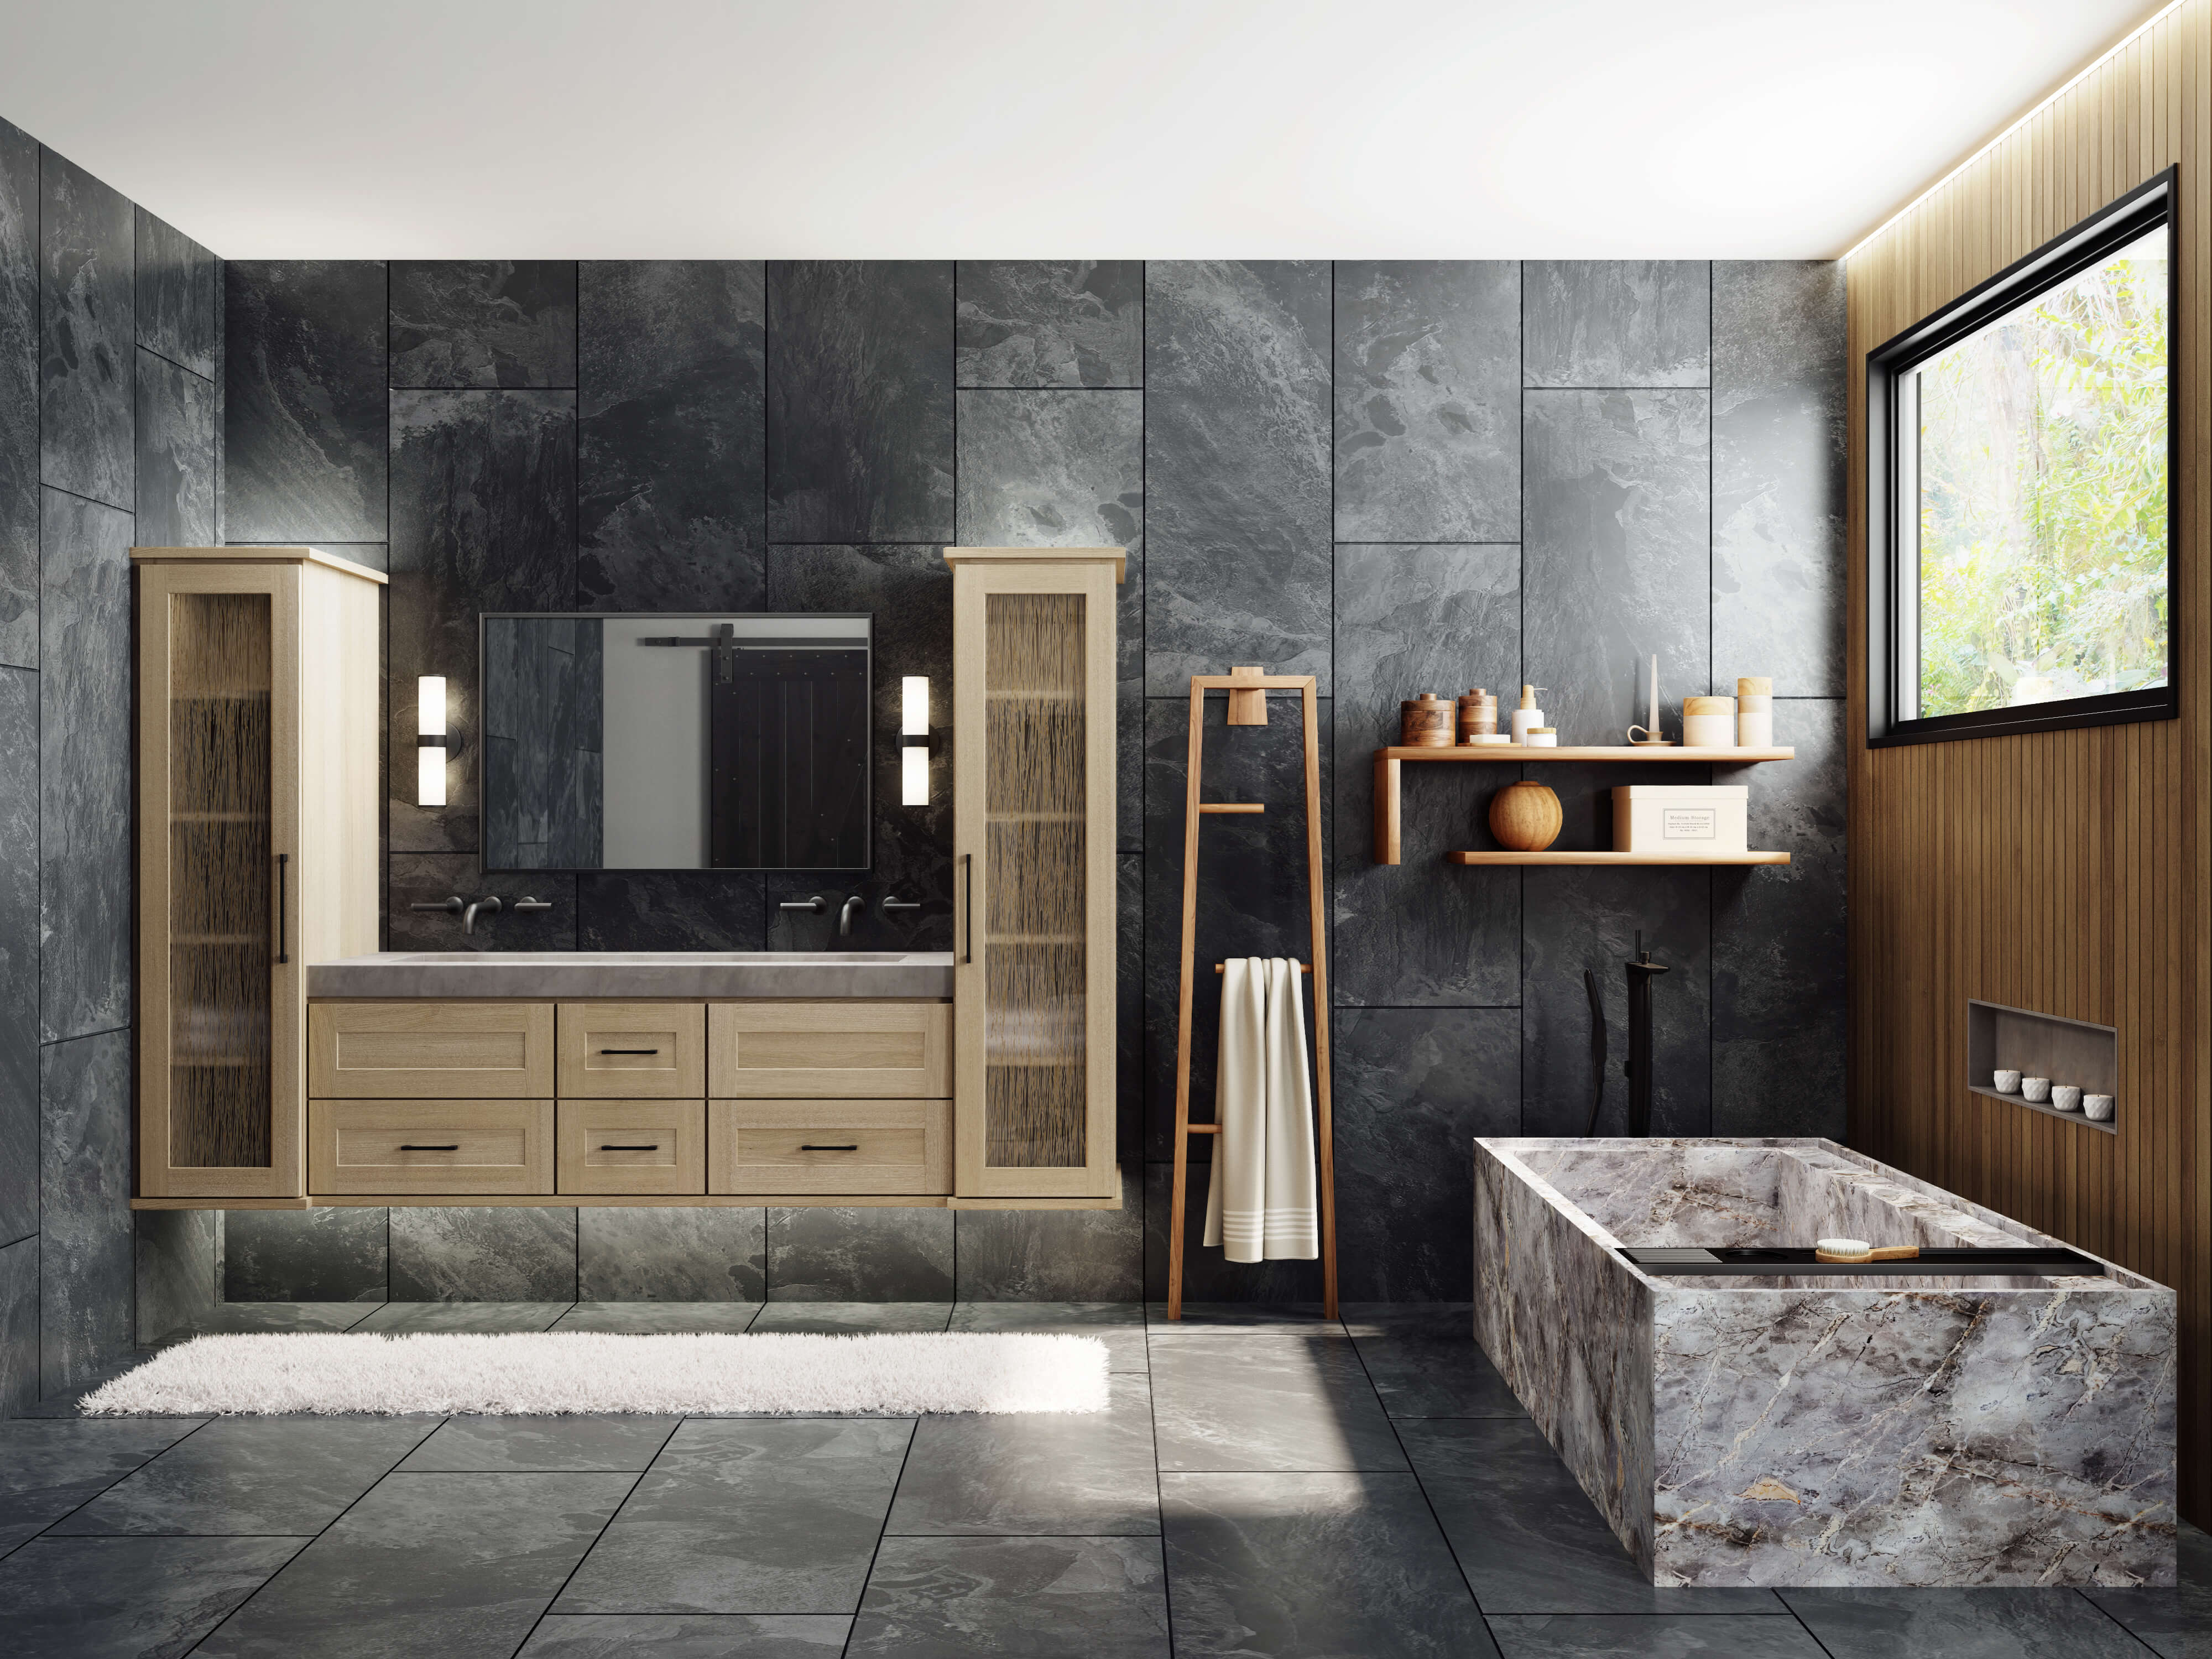
DIY Vanity Projects: Bathroom Vanity Ideas On A Budget

Building a bathroom vanity yourself can be a rewarding and cost-effective project. It allows you to create a custom vanity that perfectly fits your space and style, while also saving you money compared to purchasing a pre-made one.
Building a Vanity from Scratch
Building a bathroom vanity from scratch gives you complete control over the design, size, and materials. Here’s a step-by-step guide:
Materials Needed
- Wood: Choose a moisture-resistant wood like plywood or MDF for the vanity base and countertop.
- Hardware: This includes hinges, drawer slides, knobs, and handles.
- Sink: Select a sink that complements your vanity design and fits the countertop.
- Faucet: Choose a faucet that matches your sink and bathroom style.
- Cabinet doors and drawers: These can be purchased pre-made or crafted from wood.
- Finishing materials: This includes paint, stain, or varnish, depending on your desired look.
- Tools: You’ll need basic woodworking tools like a saw, drill, sander, and measuring tape.
Steps
- Design and Planning: Determine the size, shape, and features of your vanity. Create a detailed plan with measurements and materials list.
- Construct the base: Cut and assemble the vanity base using plywood or MDF. Create compartments for drawers and shelves.
- Install the countertop: Cut and attach the countertop to the base, ensuring proper support and sealing around the sink.
- Install the sink: Attach the sink to the countertop, ensuring proper sealing and drainage.
- Install cabinet doors and drawers: Attach the doors and drawers to the vanity base, ensuring proper alignment and functionality.
- Install the faucet: Connect the faucet to the sink and water supply lines.
- Finish the vanity: Paint, stain, or varnish the vanity to your desired look.
Repurposing an Old Dresser or Cabinet
Repurposing an old dresser or cabinet is a great way to create a unique bathroom vanity while giving an old piece of furniture a new life. Here’s how to do it:
Steps
- Select a Dresser or Cabinet: Choose a piece with sturdy construction and a style that complements your bathroom.
- Clean and Prepare: Thoroughly clean the piece and remove any existing hardware or finishes.
- Modify the Top: Cut a hole in the top for the sink, ensuring proper drainage and support.
- Install the Sink and Faucet: Securely attach the sink to the countertop and connect the faucet to the water supply lines.
- Finish and Seal: Paint, stain, or varnish the piece to your desired look, ensuring a waterproof finish.
Tools and Materials Needed
Here’s a list of tools and materials that are commonly used in DIY vanity projects:
- Woodworking Tools: Saw, drill, sander, measuring tape, level, hammer, screwdriver, clamps, router (optional)
- Hardware: Hinges, drawer slides, knobs, handles, screws, nails, brackets, sink clips, faucet connectors, plumbing supplies
- Finishing Materials: Paint, stain, varnish, primer, sealant, sandpaper, brushes, rollers, rags
- Other Materials: Wood glue, silicone sealant, caulk, tape measure, pencil, safety glasses, gloves
Cost Comparison
| Building from Scratch | Buying Pre-Made | |
|---|---|---|
| Cost | $200-$500 (depending on materials and complexity) | $500-$1500 (depending on style, size, and features) |
| Customization | High | Limited |
| Time Commitment | High | Low |
| Skill Level | Intermediate to Advanced | None |
Creative Storage Solutions
Small bathrooms often pose a challenge when it comes to storage, but with clever planning, you can transform your vanity into a space-saving haven for all your bathroom essentials.
Maximizing Vanity Space
Maximizing storage in a small bathroom vanity is all about utilizing every inch of available space. A well-designed storage system can make a significant difference in how organized and functional your bathroom feels.
- Vertical Storage: Utilize vertical space by incorporating shelves, stacked baskets, or tiered organizers. This allows you to store items vertically, maximizing floor space and making it easier to find what you need.
- Drawer Dividers: Invest in drawer dividers to create compartments within drawers, allowing you to separate and organize smaller items like makeup, toiletries, and hair accessories.
- Under-Sink Storage: The space under the sink is often underutilized. Install pull-out drawers, sliding shelves, or tiered baskets to maximize storage potential in this area.
- Wall-Mounted Storage: Utilize wall space by installing shelves, towel racks, or hooks to store items like towels, bathrobes, or decorative items. This frees up valuable vanity space.
Organizing Bathroom Essentials
Organizing your bathroom essentials in a visually appealing way can make a big difference in the overall look and feel of your bathroom. Here are some tips:
- Clear Containers: Use clear containers or baskets to store items like cotton balls, Q-tips, and hair ties. This allows you to easily see what you have and find what you need quickly.
- Labeling: Label your containers or drawers to make it easier to identify their contents. This is especially helpful for items that are similar in size or shape.
- Color Coordination: Choose storage containers or baskets in colors that complement your bathroom décor. This can help create a cohesive and visually appealing look.
- Categorization: Organize your bathroom essentials by category, such as toiletries, makeup, hair care, and medication. This will make it easier to find what you need and keep your vanity tidy.
Types of Storage Solutions
Various storage solutions can be used to enhance the functionality of your bathroom vanity. The best option depends on your specific needs and the layout of your bathroom.
- Shelves: Shelves are a versatile storage solution that can be used to store a wide range of items. They are ideal for small bathrooms as they don’t take up much floor space. Shelves can be made from wood, metal, or glass and come in various styles to match your bathroom décor.
- Drawers: Drawers provide a more discreet storage solution, perfect for hiding clutter and keeping items out of sight. They are ideal for storing smaller items like toiletries, makeup, and hair accessories. Drawers can be made from wood, metal, or plastic and come in various sizes and styles.
- Baskets: Baskets are a great way to add a touch of style and organization to your bathroom. They can be used to store towels, toiletries, or other items. Baskets come in various materials, sizes, and styles to suit your preferences.
Organizing Bathroom Necessities Within a Vanity, Bathroom vanity ideas on a budget
Here’s a table with ideas for organizing bathroom necessities within a vanity:
| Category | Storage Solution | Examples |
|---|---|---|
| Toiletries | Drawers, baskets | Shampoo, conditioner, body wash, soap, lotion |
| Makeup | Drawers, tiered organizers | Foundation, concealer, powder, blush, eyeshadow |
| Hair Care | Drawers, baskets | Hairspray, styling products, brushes, combs |
| Medication | Drawers, medicine cabinet | Pain relievers, vitamins, first-aid supplies |
| Other Essentials | Shelves, baskets | Cotton balls, Q-tips, hair ties, dental floss |
